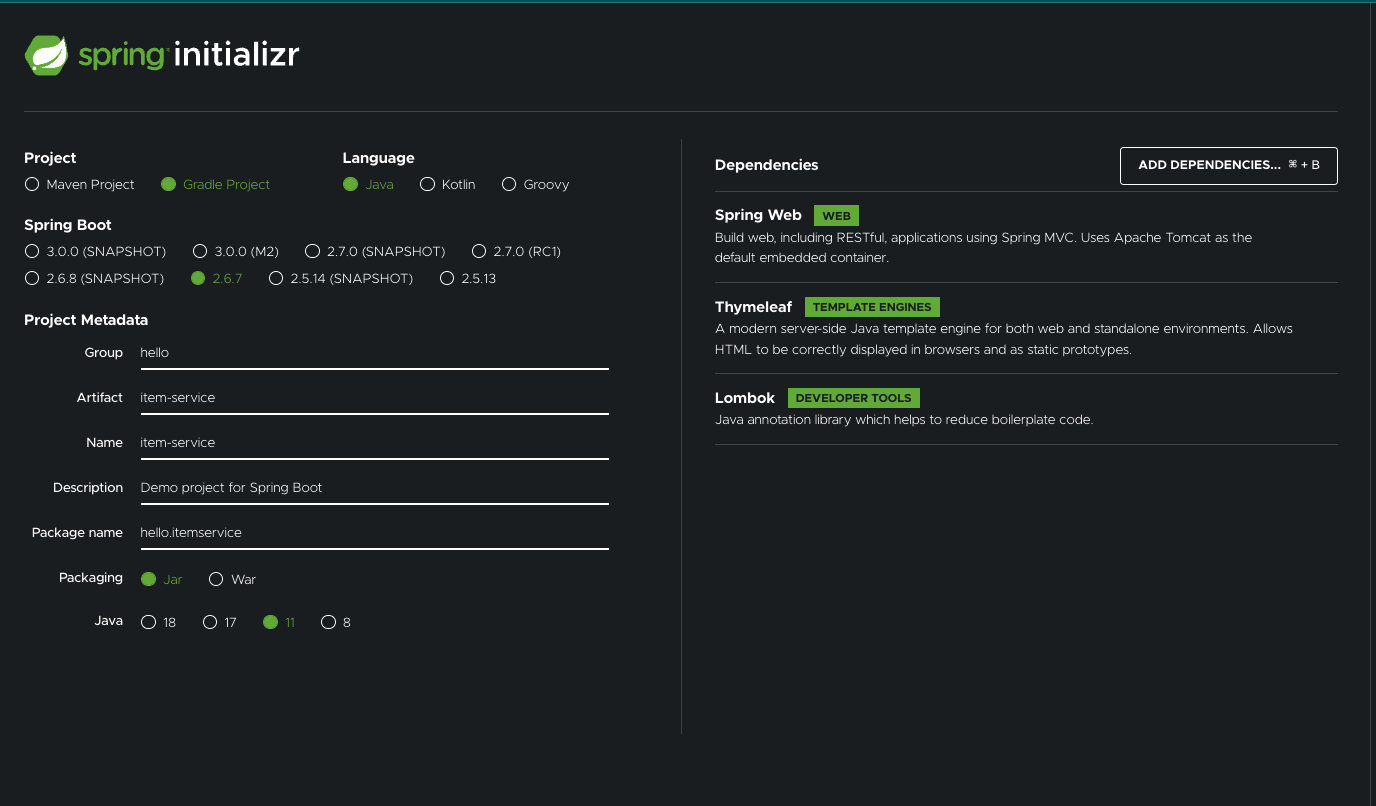
계속해서 만들던 대로 프로젝트를 여기서 생성하자.
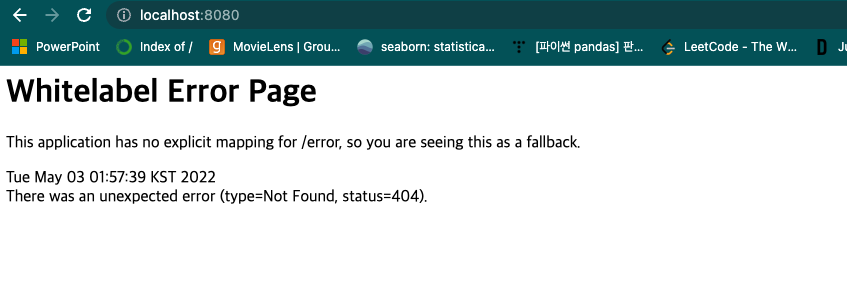
실행해보면 잘 나온다.
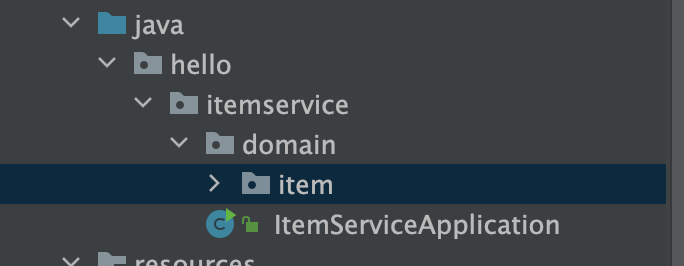
// ItemServiceApplication

package hello.itemservice;

import org.springframework.boot.SpringApplication;
import org.springframework.boot.autoconfigure.SpringBootApplication;

@SpringBootApplication
public class ItemServiceApplication {

   public static void main(String[] args) {
      SpringApplication.run(ItemServiceApplication.class, args);
   }

}
이제 welcome page를 추가하고 생성해보면 잘나온다.
// index.html

<!DOCTYPE html>
<html>
<head>
    <meta charset="UTF-8">
    <title>Title</title>
</head>
<body>
<ul>
    <li>상품 관리
        <ul>
            <li><a href="/basic/items">상품 관리 - 기본</a></li>
        </ul>
    </li>
</ul>
</body>
</html>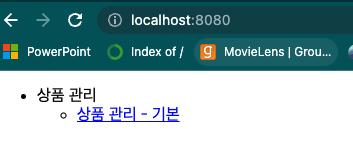
요구사항 분석을 보면
- 상품 도메인 모델
- 상품 관리 기능
이렇게 두 가지가 있다.
상품 도메인 모델
- 상품 ID
- 상품명
- 가격
- 수량
상품 관리 기능
- 상품 등록
- 상품 상세
- 상품 등록
- 상품 수정
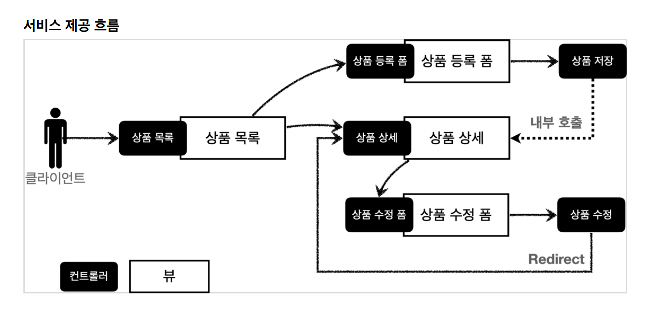
서비스 제공 흐름은 아래와 같다.
컨트롤로 뷰를 구분해서 흐름을 파악해보자. 상품 상세 뷰 같은 경우는 상품 상세 컨트롤러와 상품 저장 컨트롤러 두개가 상품 상세 뷰를 호출해준다.
컨트롤러
- 상품 목록
- 상품 등록 폼
- 상품 상세
- 상품 수정 폼
- 상품 저장(내부 호출)
- 상품 수정(Redirect)
뷰
- 상품 목록
- 상품 등록 폼
- 상품 상세
- 상품 수정 폼
이제 도메인을 개발해보자.
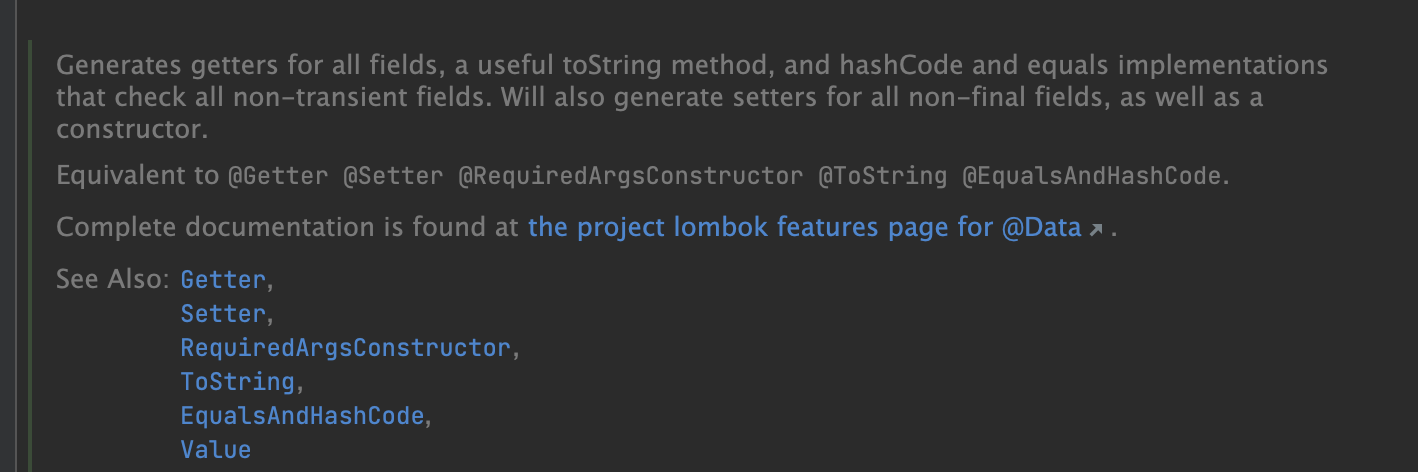
@Data를 쓰면 핵심 도메인 상황에서는 굉장히 위험하다.
지금 프로젝트에선 @Data를 쓰고 나중에는 @Getter @Setter을 쓰자.
package hello.itemservice.domain.item;

import lombok.Data;

@Data
public class Item {

    private Long id;
    private String itemName;
    private Integer price;
    private Integer quantity;

    public Item() {
    }

    public Item(String itemName, Integer price, Integer quantity) {
        this.itemName = itemName;
        this.price = price;
        this.quantity = quantity;
    }
}
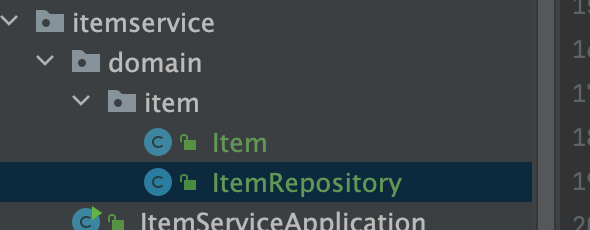
ItemRepository도 만들어주자.
package hello.itemservice.domain.item;

import org.springframework.stereotype.Repository;

import java.util.ArrayList;
import java.util.HashMap;
import java.util.List;
import java.util.Map;


// 컴포넌트 스캔이 내장이 되어있다.
@Repository
public class ItemRepository {

    // 멀티 쓰레드 환경에서 여러개가 동시에 store에 접근하게 되면 HashMap 쓰면 안되고 ConcurrentHashMap을 써야한다.
    // 싱글톤으로 생성되기 때문에
    private static final Map<Long, Item> store = new HashMap<>(); // static

    // 얘도 Long해서 쓰면 안된다. 값이 꼬일 수 있기 때문에 일단 지금은 간단한 프로젝트이니 쓰자.
    private static Long sequence = 0L; // static

    public Item save(Item item) {
        item.setId(++sequence);
        store.put(item.getId(), item);
        return item;
    }

    public Item findById(Long id) {
        return store.get(id);
    }

    public List<Item> findAll() {
        return new ArrayList<>(store.values());
    }


    // 프로젝트 규모가 커지면 ItemParameterDto만드는게 깔끔하다.
    public void update(Long itemId, Item updateParam) {
        Item findItem = findById(itemId);
        findItem.setItemName(updateParam.getItemName());
        findItem.setPrice(updateParam.getPrice());
        findItem.setQuantity(updateParam.getQuantity());
    }

    public void clearStore() {
        store.clear();
    }
}
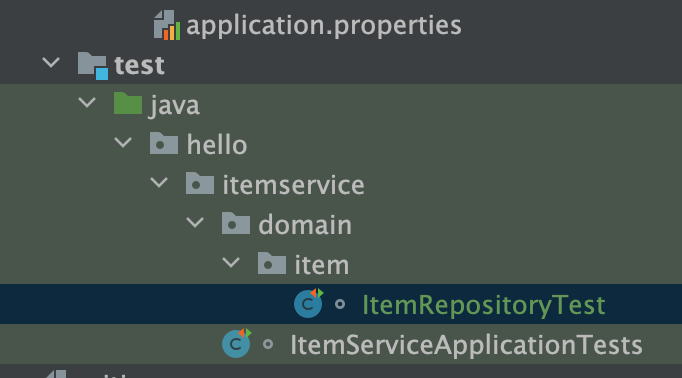
테스트 코드 ItemRepositoryTest도 만들어주자.
package hello.itemservice.domain.item;

import org.assertj.core.api.Assertions;
import org.junit.jupiter.api.AfterEach;
import org.junit.jupiter.api.Test;

import java.util.List;

import static org.assertj.core.api.Assertions.*;
import static org.junit.jupiter.api.Assertions.*;

class ItemRepositoryTest {
    ItemRepository itemRepository = new ItemRepository();

    @AfterEach
    void afterEach() {
        itemRepository.clearStore();
    }

    @Test
    void save() {
        // given
        Item item = new Item("itemA", 10000, 10);

        // when
        Item savedItem = itemRepository.save(item);

        // then
        Item findItem = itemRepository.findById(item.getId());
        assertThat(findItem).isEqualTo(savedItem);
    }

    @Test
    void findAll() {
        // given
        Item item1 = new Item("item1", 10000, 10);
        Item item2 = new Item("item2", 20000, 20);

        itemRepository.save(item1);
        itemRepository.save(item2);

        // when
        List<Item> result = itemRepository.findAll();

        // then
        assertThat(result.size()).isEqualTo(2);
        assertThat(result).contains(item1, item2);


    }

    @Test
    void updateItem() {
        // given
        Item item = new Item("item1", 10000, 10);

        Item savedItem = itemRepository.save(item);
        Long itemId = savedItem.getId();

        // when
        Item updateParam = new Item("item2", 20000, 30);
        itemRepository.update(itemId, updateParam);

        // then
        Item findItem = itemRepository.findById(itemId);

        assertThat(findItem.getItemName()).isEqualTo(updateParam.getItemName());
        assertThat(findItem.getPrice()).isEqualTo(updateParam.getPrice());
        assertThat(findItem.getQuantity()).isEqualTo(updateParam.getQuantity());
    }
}
상품 서비스 HTML 파트는 부트스트랩을 이용해서 만들어 보자.
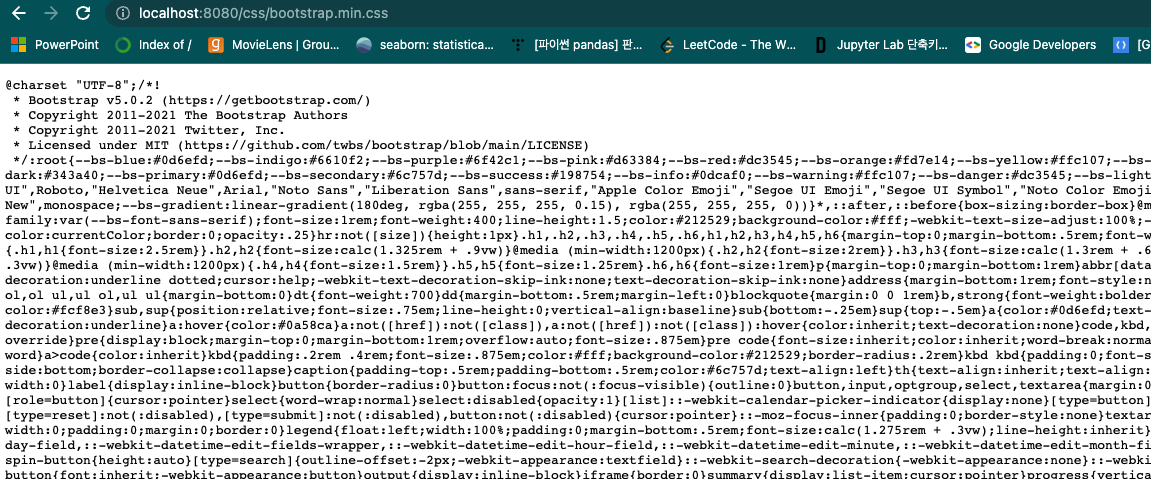
여기서 bootstrap.min.css 파일을 열어서 아래 경로와 같이 복사해주고

http://localhost:8080/css/bootstrap.min.css 이 경로로 들어가보자. 잘 나오는 것을 확인할 수 있다.
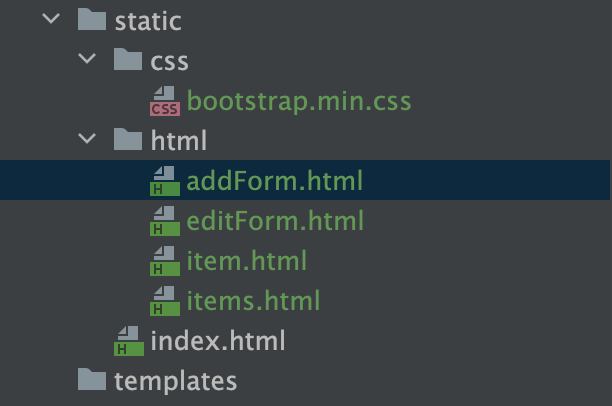
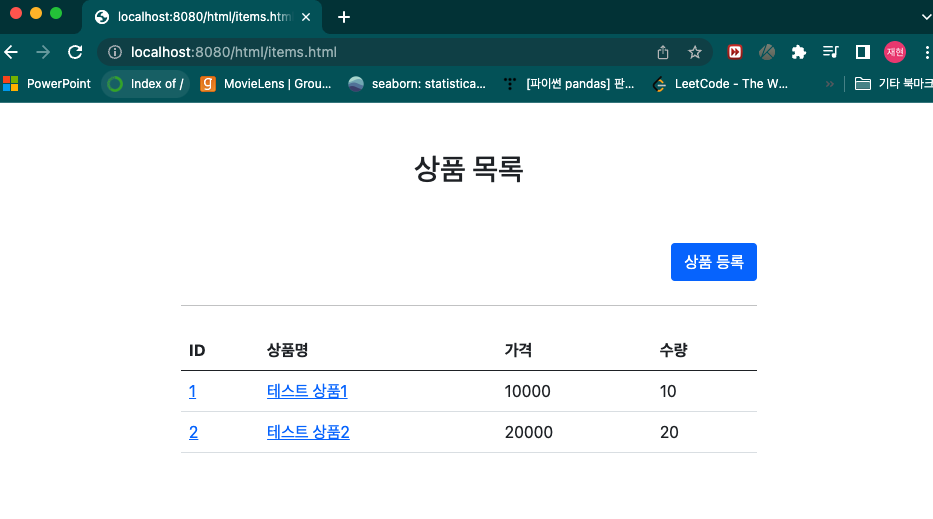
html 파일들도 다 넣어주자.
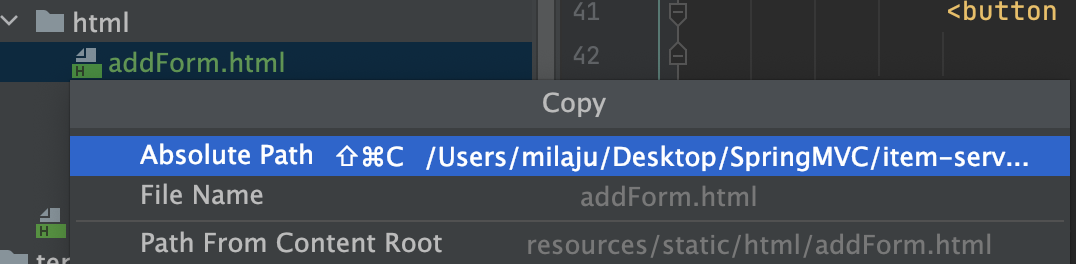
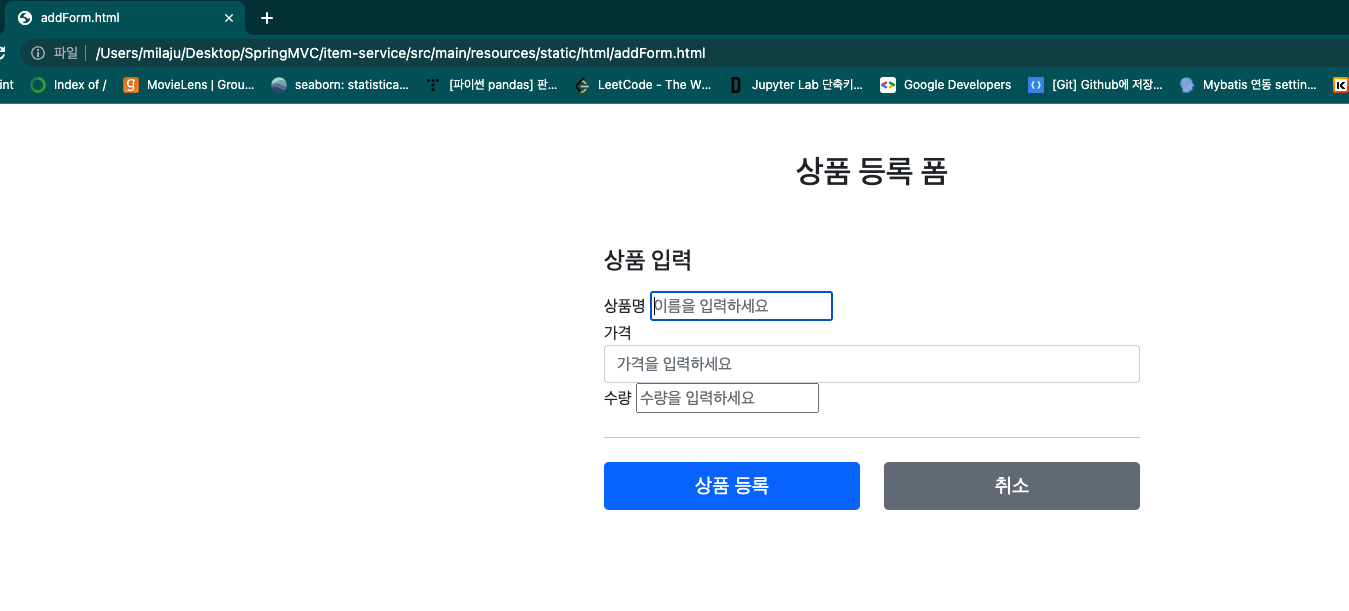
파일의 절대경로로 들어가도 잘 열리고 서버 실행하고 열어도 잘 열린다.
<출처 김영한: 스프링 MVC 1편 - 벡앤드 웹 개발 핵심 기술>
https://www.inflearn.com/course/%EC%8A%A4%ED%94%84%EB%A7%81-mvc-1/dashboard
스프링 MVC 1편 - 백엔드 웹 개발 핵심 기술 - 인프런 | 강의
웹 애플리케이션을 개발할 때 필요한 모든 웹 기술을 기초부터 이해하고, 완성할 수 있습니다. 스프링 MVC의 핵심 원리와 구조를 이해하고, 더 깊이있는 백엔드 개발자로 성장할 수 있습니다., -
www.inflearn.com
'Spring > SpringMVC' 카테고리의 다른 글
| 상품 상세, 상품 등록 폼 뷰 & 컨트롤러 (0) | 2022.05.03 |
|---|---|
| 상품 목록 - 타임리프 (0) | 2022.05.03 |
| 요청 매핑 헨들러 어뎁터 구조 (0) | 2022.05.01 |
| HTTP 응답 - HTTP API, 메시지 바디에 직접 입력 & HTTP 메시지 컨버터 (0) | 2022.05.01 |
| HTTP 요청 메시지 - JSON & HTTP 응답 - 정적 리소스, 뷰 템플릿 (0) | 2022.05.01 |